In the previous step, we deployed additional NSX-T Managers and formed the Management Cluster. This blog is the “Step 4” of the NSX-T Installation series which shows step-by-step instructions to configure “NSX-T Management Cluster Virtual IP” (VIP), how it works and its failure handling.
—————————————————————————————————————————————————————
But before we proceed, I would encourage you to briefly skim through my other blogs below, which you may find useful for this step:
- NSX-T Architecture (Revamped)for v2.4 and later
- Series Overview: Step 0 – High Level Design
- Preceding step: Step 3 – Deploy Additional NSX-T Managers from UI
If you are deploying this in your home lab or performing a PoC in a nested vSphere Environment, I would also suggest you have a quick glance of my blog Home Lab Setup – Nested ESXi Host’s networking for NSX-T.
—————————————————————————————————————————————————————
I wrote about the three deployment options of the NSX-T Manager and their use cases in my blog NSX-T Management Cluster Deployment: Part 2, we are now going to focus on configuring the internal “Virtual IP” to provide fault tolerance and high availability to the NSX-T manager nodes.
Let’s begin with the question – How does the VIP Work?
When we configure the NSX-T Management Cluster to use the internal VIP option, the NSX-T manager nodes become part of an HTTPS group to service all API and UI requests. One node of the Management Cluster assumes the ownership of the set VIP and all requests coming in from clients are directed to that node i.e. the leader node.
Failure Handling: If the leader node that owns VIP goes down, a new leader is elected which sends out a GARP request to take ownership of the VIP. The new leader node then receives all new API and UI requests from users.
Note:
- The failover of VIP to a new leader node might take a few minutes to become operational.
- The users must re-authenticate so that the API requests are targeted to the new leader node.
- The VIP does not serve as a load-balancer.
With that, let’s get started…
1. Click System -> Overview -> Edit (next to Virtual IP):

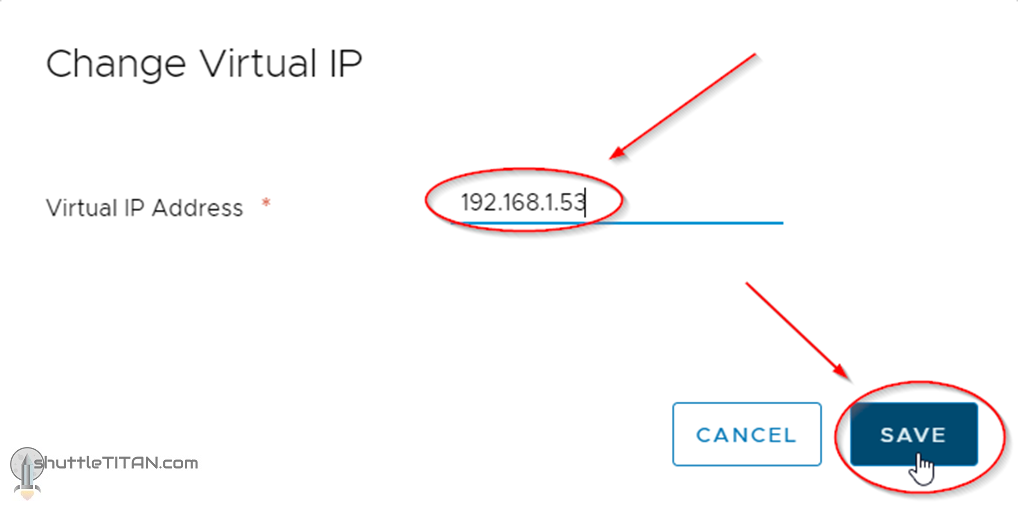
2. Specify the IP Address as appropriate and click “Save”:
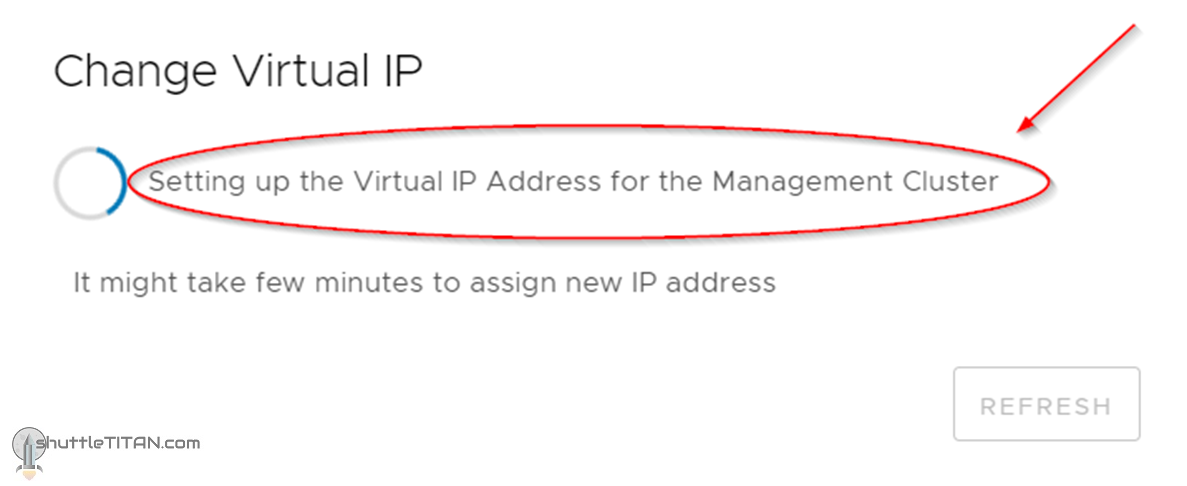
3. NSX-T Manager will take some time setup the VIP and will display the message as shown in the screenshot below:
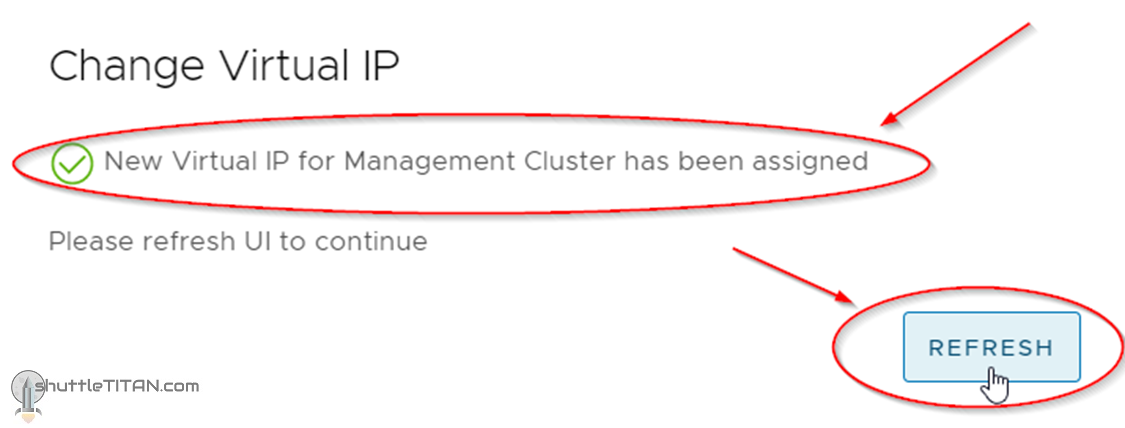
4. Refresh the NSX-T UI by clicking the “Refresh” button:
You may also be interested in identifying the NSX-T Management Cluster virtual IP leader node i.e. the node that owns the VIP at a given point in time, if yes follow this “quick tip” blog here.
This concludes this step of configuring NSX-T Management Cluster virtual IP successfully.
Let’s proceed ahead with the next blog in this series Step 5 – Create IP Pools.