This blog post is the “Step 1” of the “NSX-T v2.3 Installation” series that shows step-by-step instructions to deploy NSX-T manager. You could also watch this step recorded on the “video log” on youtube here and subscribe to the youtube channel “shuttleTITAN” to receive notifications of the new upcoming videos.
If you are new to NSX-T, I would also encourage you to refer my NSX-T Architecture blog post to get a bit more understanding and touch bases on its architecture briefly.
Before every product deployment, going through the requirements and interoperability is an essential part of doing things right in the first instance.
- NSX-T Manager v2.3 resource requirements for different deployment sizes are as follows:
| Appliance Size | Memory | vCPU |
|---|---|---|
| Small | 8 Gb | 2 |
| Medium | 16 Gb | 4 |
| Medium | 24 Gb | 6 |
| Large | 32 Gb | 8 |
| Extra Large | 48 Gb | 12 |
vDisk Size: Thin virtual disk size is 3.1 GB and thick virtual disk size is 200 GB
Hardware Version: 10 or later.
- NSX-T Manager v2.3 Interoperability with other VMware products are as follows:
| Product | Versions |
|---|---|
| vCenter | v6.5 U1 and later |
| ESXi | v6.5 U1 and later |
| VMware Tools | v10.2.0, v10.2.5, v10.3.0 |
| vRealize Network Insight | v3.9.0 |
I have only mentioned limited products above and they are relevant at the time of writing this blog however VMware regularly updates them and therefore I would encourage you to go visit VMware Product Interoperability Matrices for latest updates.
- “Host A” record in the DNS manager for the FQDN of the NSX-T Manager that you intend to deploy – I have already done before hand.
Lets get started…
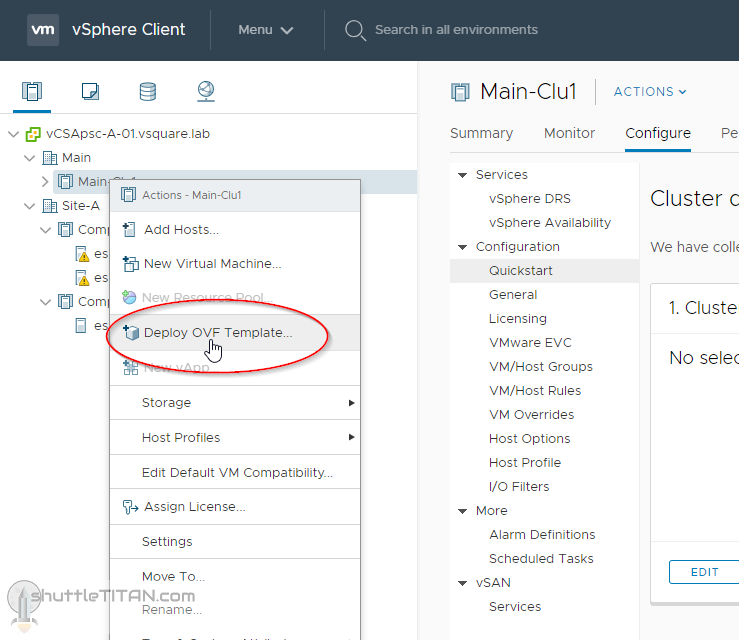
Log in to the vCenter via vSphere client, right click the cluster and click “Deploy OVF Template…”
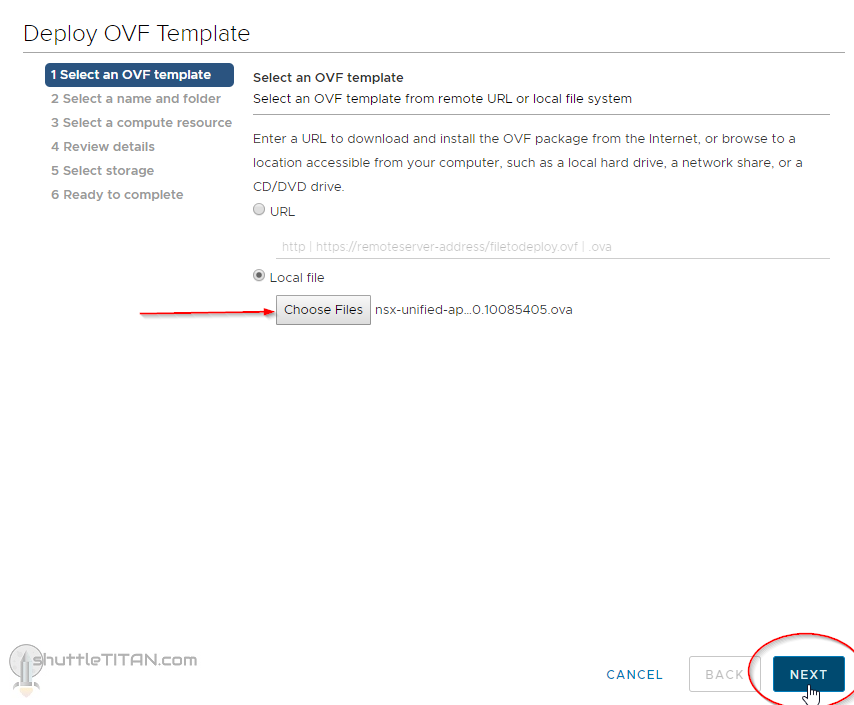
Either specify the URL or choose the NSX-T Manager’s ova file, and click “Next”:
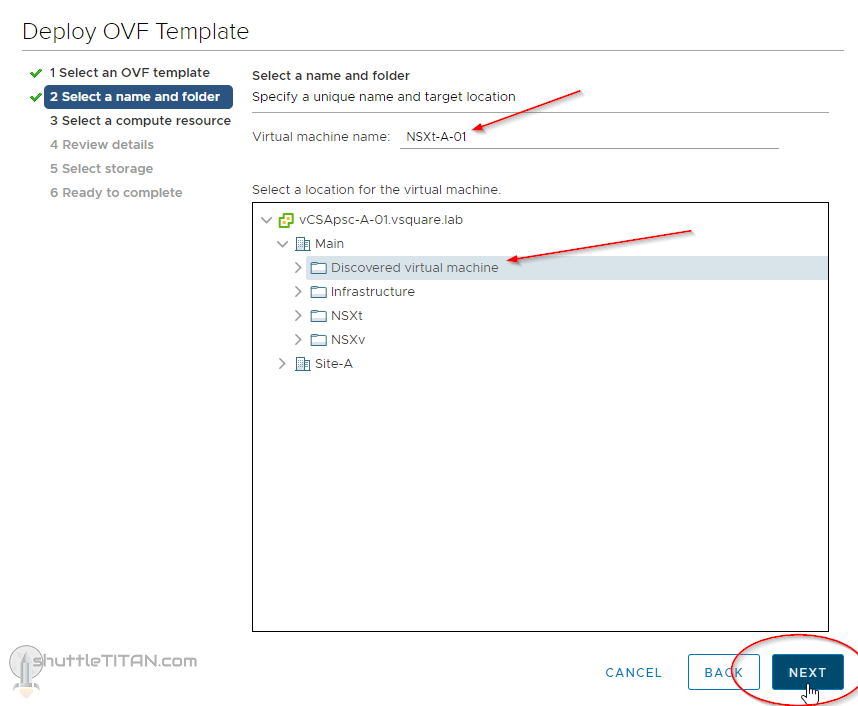
Specify the virtual machine name and the folder where the appliance should be deployed to, click “Next”:
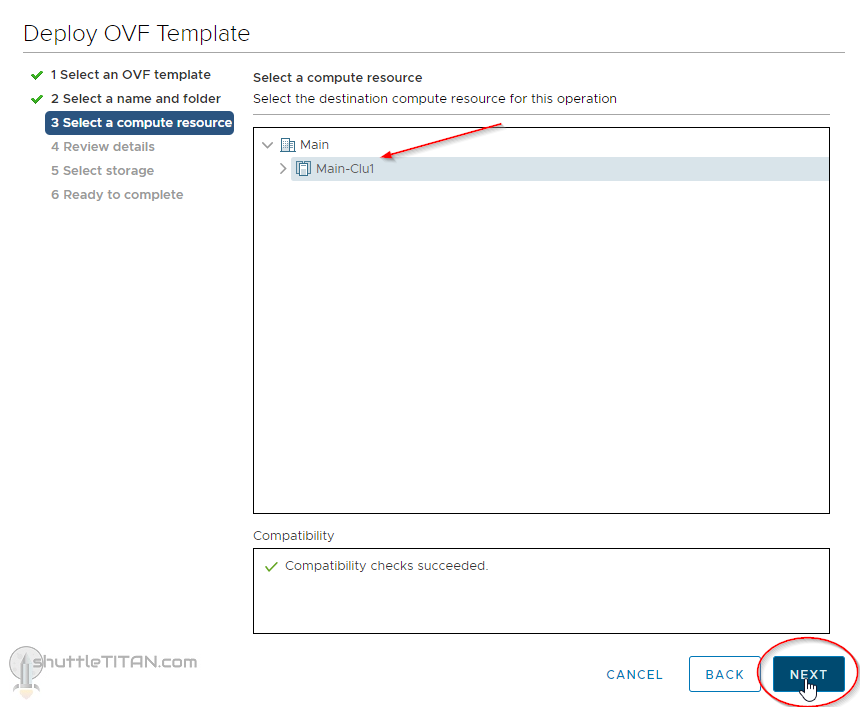
Select the compute resource i.e. the cluster, resource pool or the host, and click “Next”:
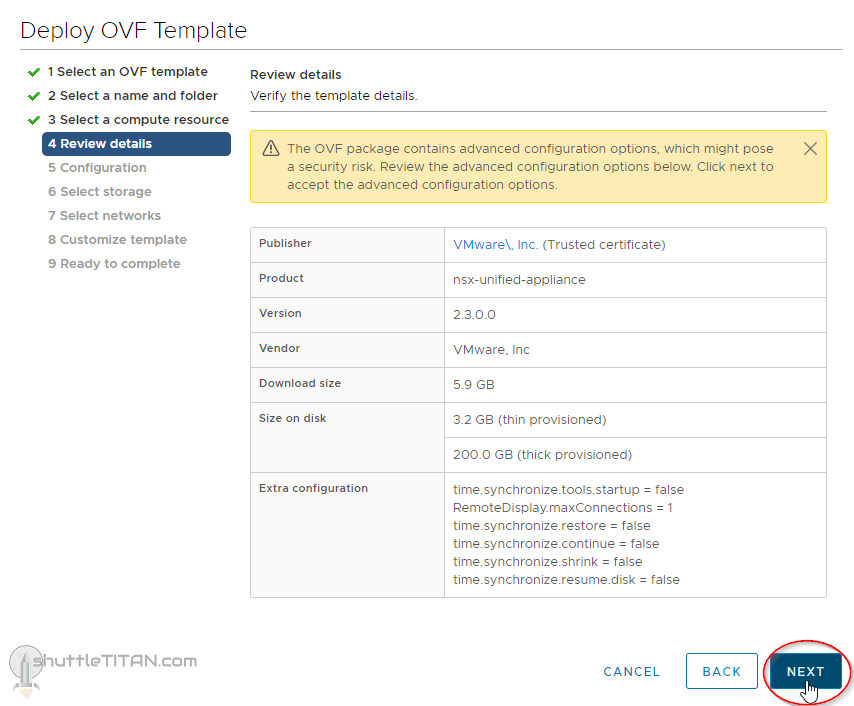
Review Details, and click “Next”:
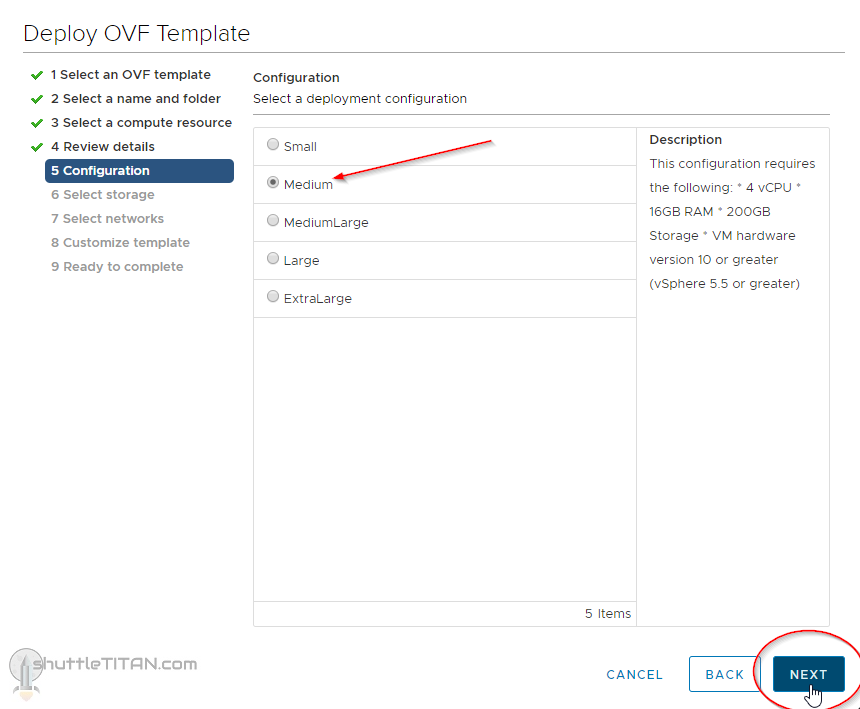
Select the deployment configuration size – I have selected medium, click “Next”:
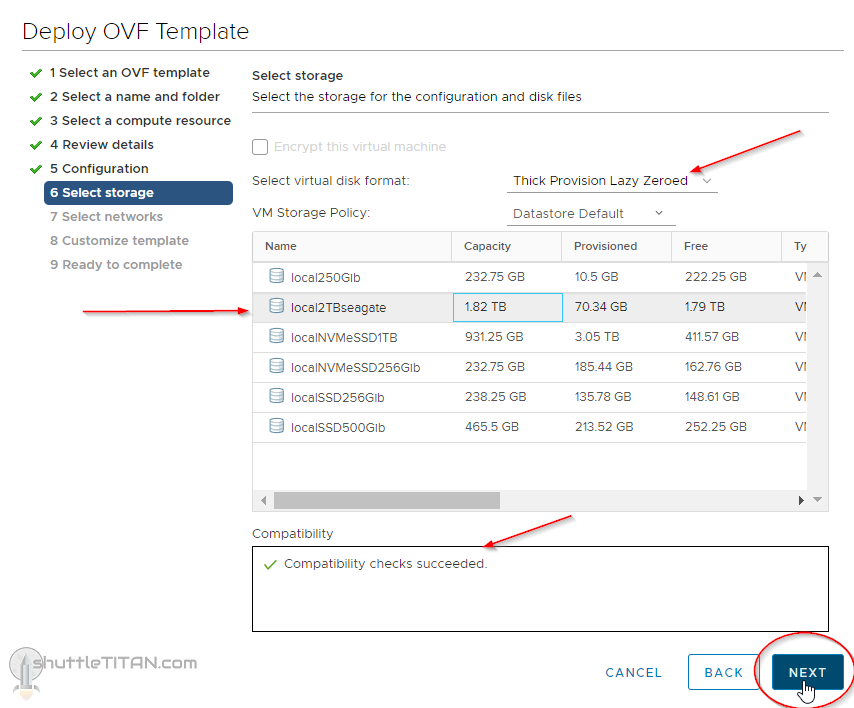
Select the virtual disk format, select the datastore,and click “Next”:
Select the Network, and select the IP protocol – I have selected IPv4, click “Next”:

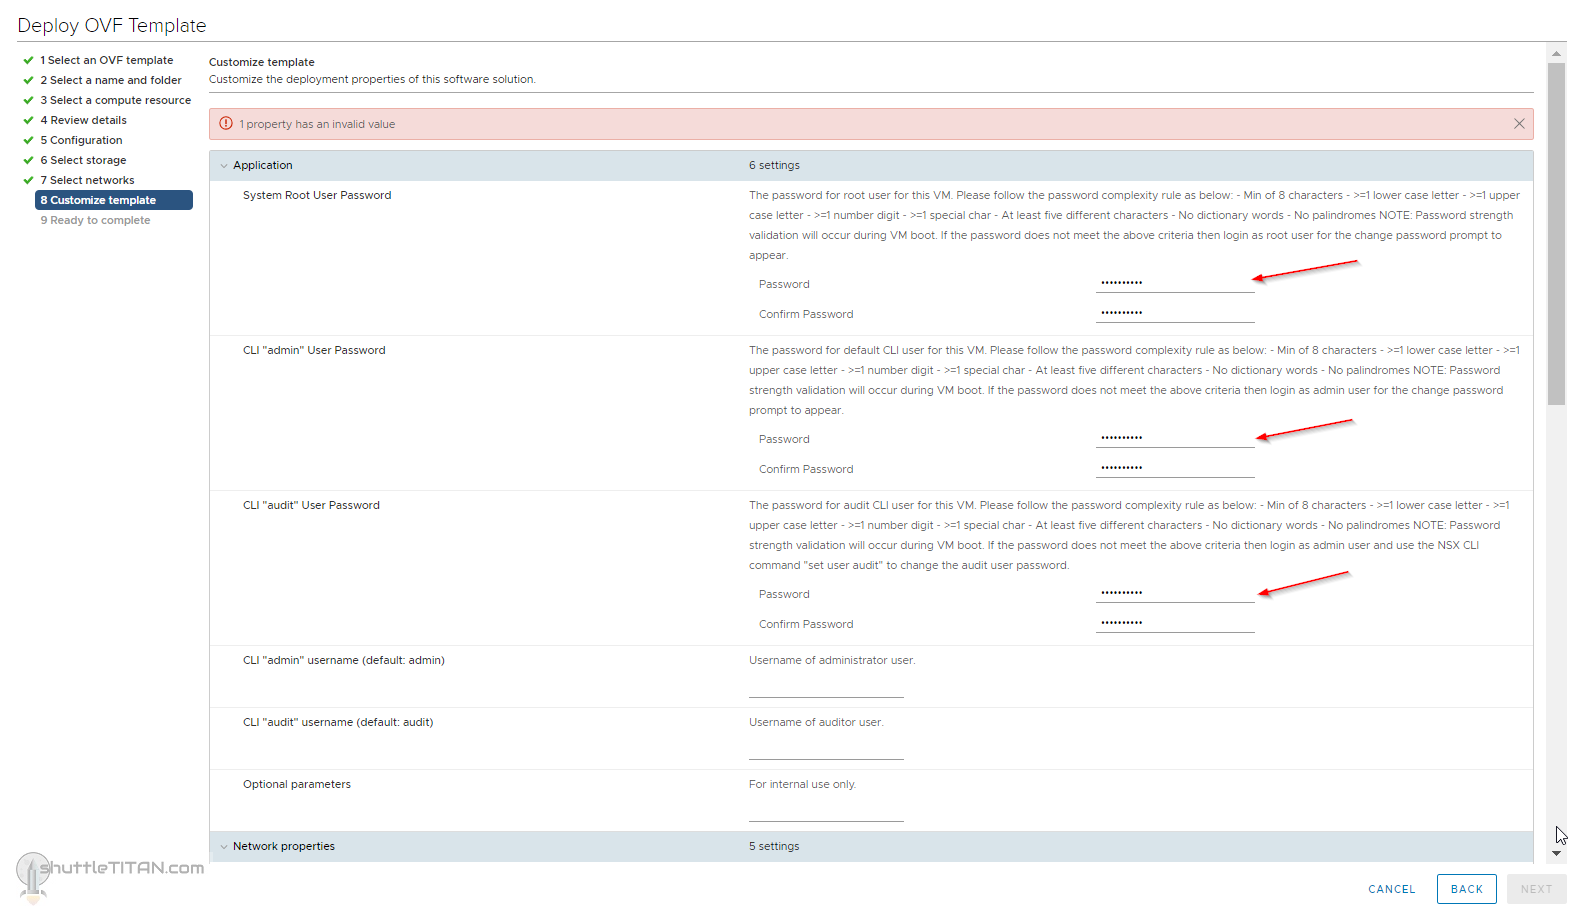
Specify the required passwords for the root, admin and audit user and optionally specify the username if you prefer to change the default names – I have left it blank, scroll “down”:
Note: Double check the password you enter and it meets the complexity requirements or you will have issues logon to the appliance post deployment.
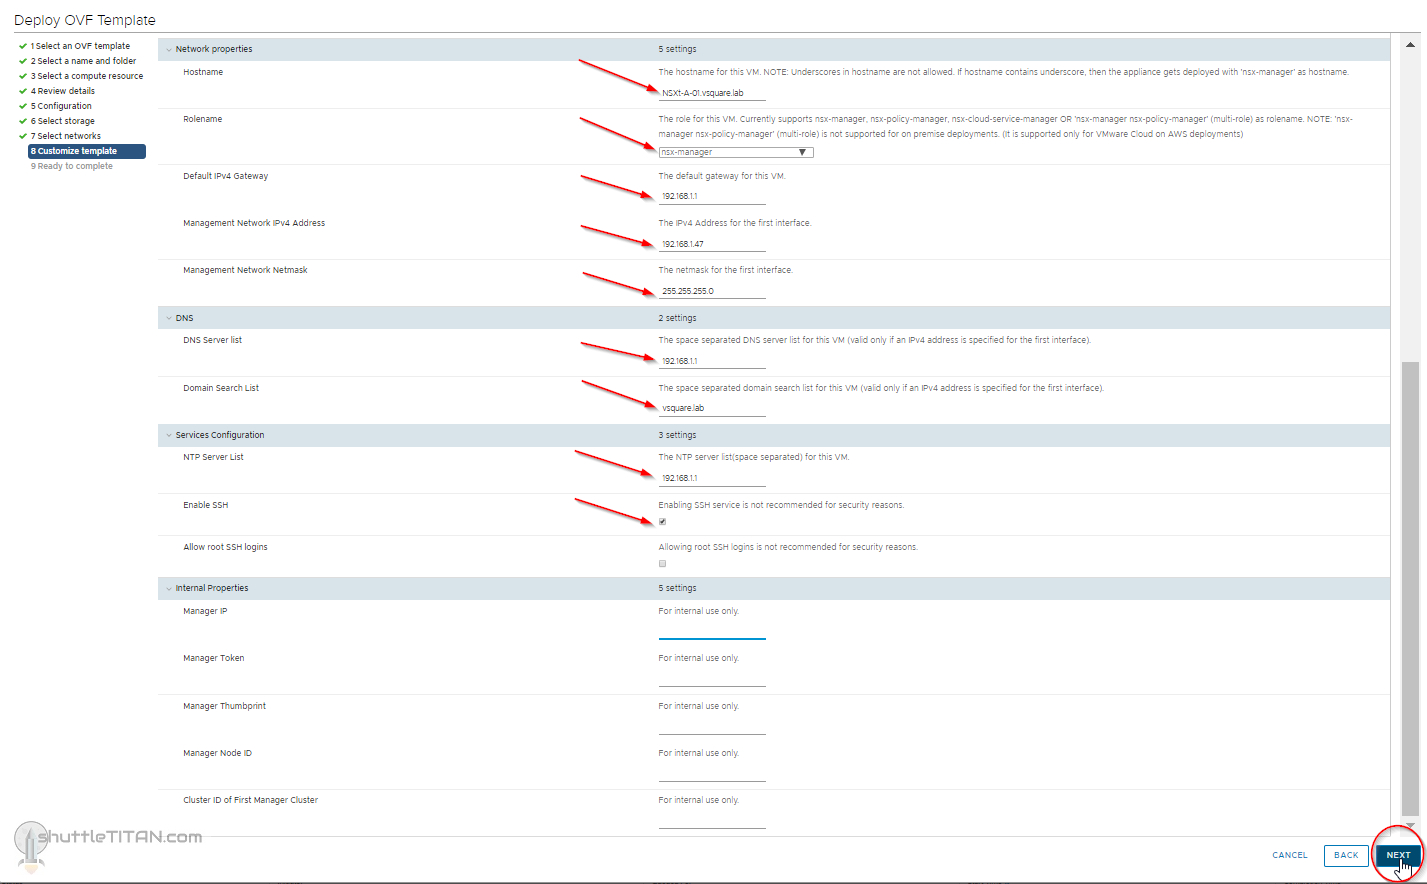
Specify the Network properties, DNS, NTP details.Internal Properties can be left blank, click “Next”:
Review details and click “Finish” to proceed with the deployment:

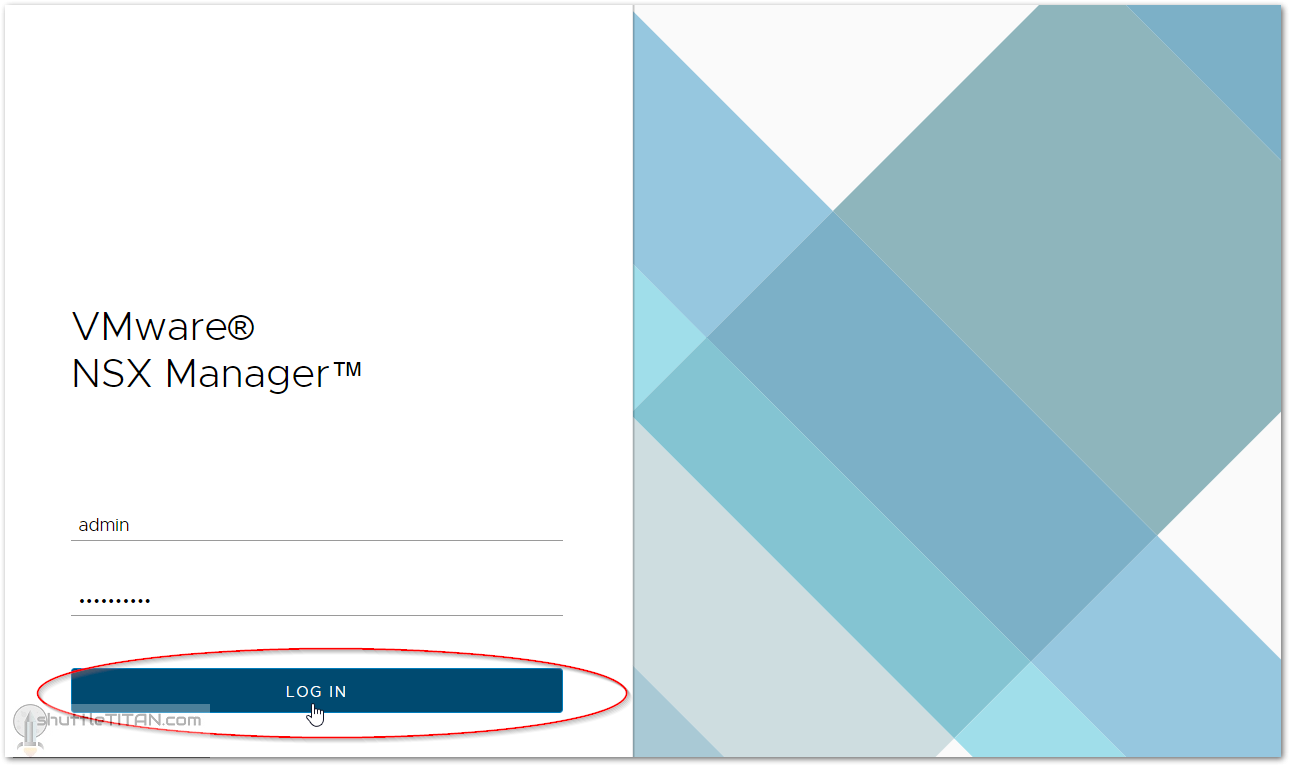
Upon successful deployment and power on the NSX-T manager appliance (if it is not powered on), and logon to the NSX manager using “https://”
Note: HTTP does not work and only secure connection is allowed
After successful logon, following will be page you will see on the screen:
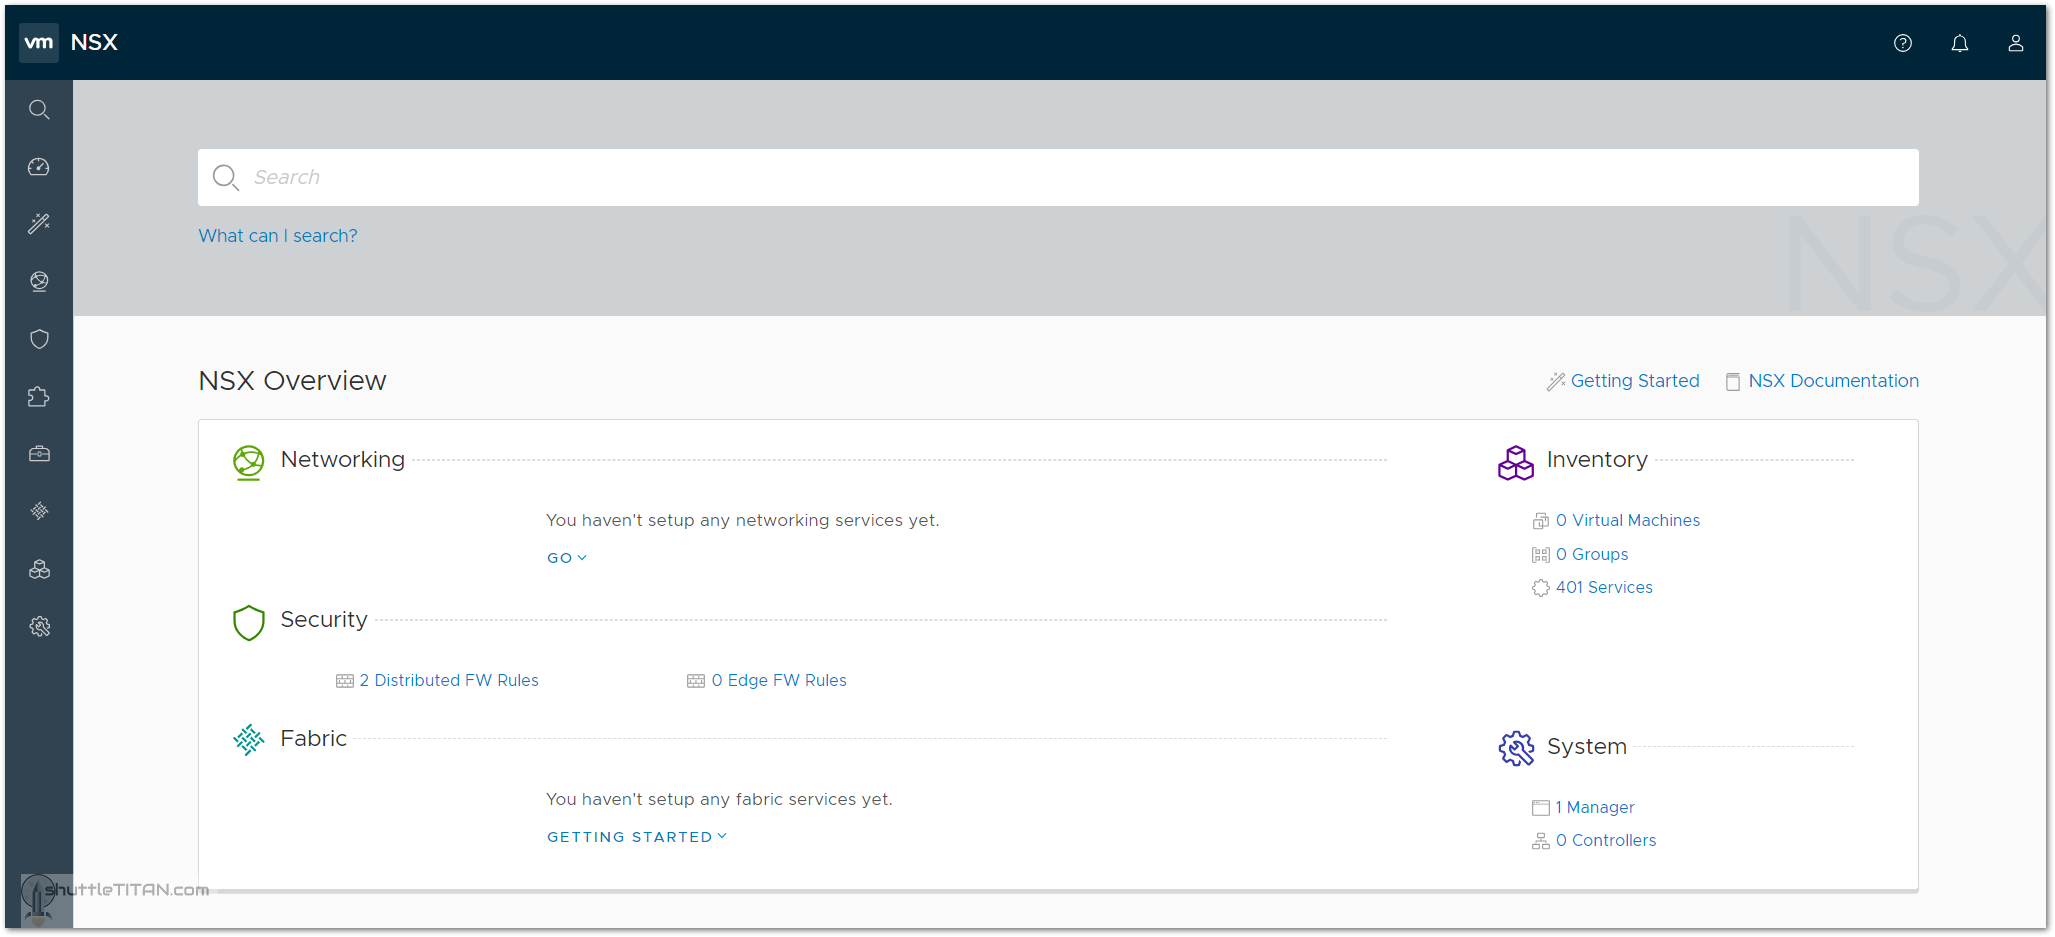
That’s it for the NSX-T Manager appliance deployment in this step 1.
To view the next step click Step 2 – Add Compute Manager