This blog post is the “Step 2” of the “NSX-T v2.3 Installation” series that shows step-by-step instructions to add Compute Manager. You could also watch this step recorded on the “video log” on youtube here and subscribe to the youtube channel “shuttleTITAN” to receive notifications of the new upcoming videos.
If you are new to NSX-T, I would also encourage you to refer my NSX-T Architecture blog post to get a bit more understanding and touch bases on its architecture briefly.
To view the previous step click Step 1: Deploy NSX Manager.
What is a Compute Manager?
A compute manager in this case is a VMware vCenter Server. VMware vCenter Server is a centralised application that manages multiple ESXi Hosts and VMs from a single glass of pane.
As the vCenter has all the information centrally available, NSX-T Data Center polls all the compute managers to find out about the changes, such as the addition or removal of hosts or VMs and updates its inventory accordingly.
Is it necessary to add a Compute Manager?
No, adding a Compute manager is optional, because NSX-T can also get the inventory information without a compute manger i.e. from standalone hosts and VMs.
So the question arises, why do we add it?
In addition to NSX-T polling the compute manager and updating its inventory, it provides significant benefits of deploying NSX-T controllers, Edge Nodes and the components on ESXi Hosts being configured as Transport Nodes.
NSX-T v2.3 release supports:
- A maximum of 5 compute managers.
- vCenter Server v6.5 Update 1 or later.
- IPv4 and IPv6 communication with vCenter Server.
Lets get started…
- Logon to the NSX-T manager https://<FQDN-or-IP-Address> from a browser.
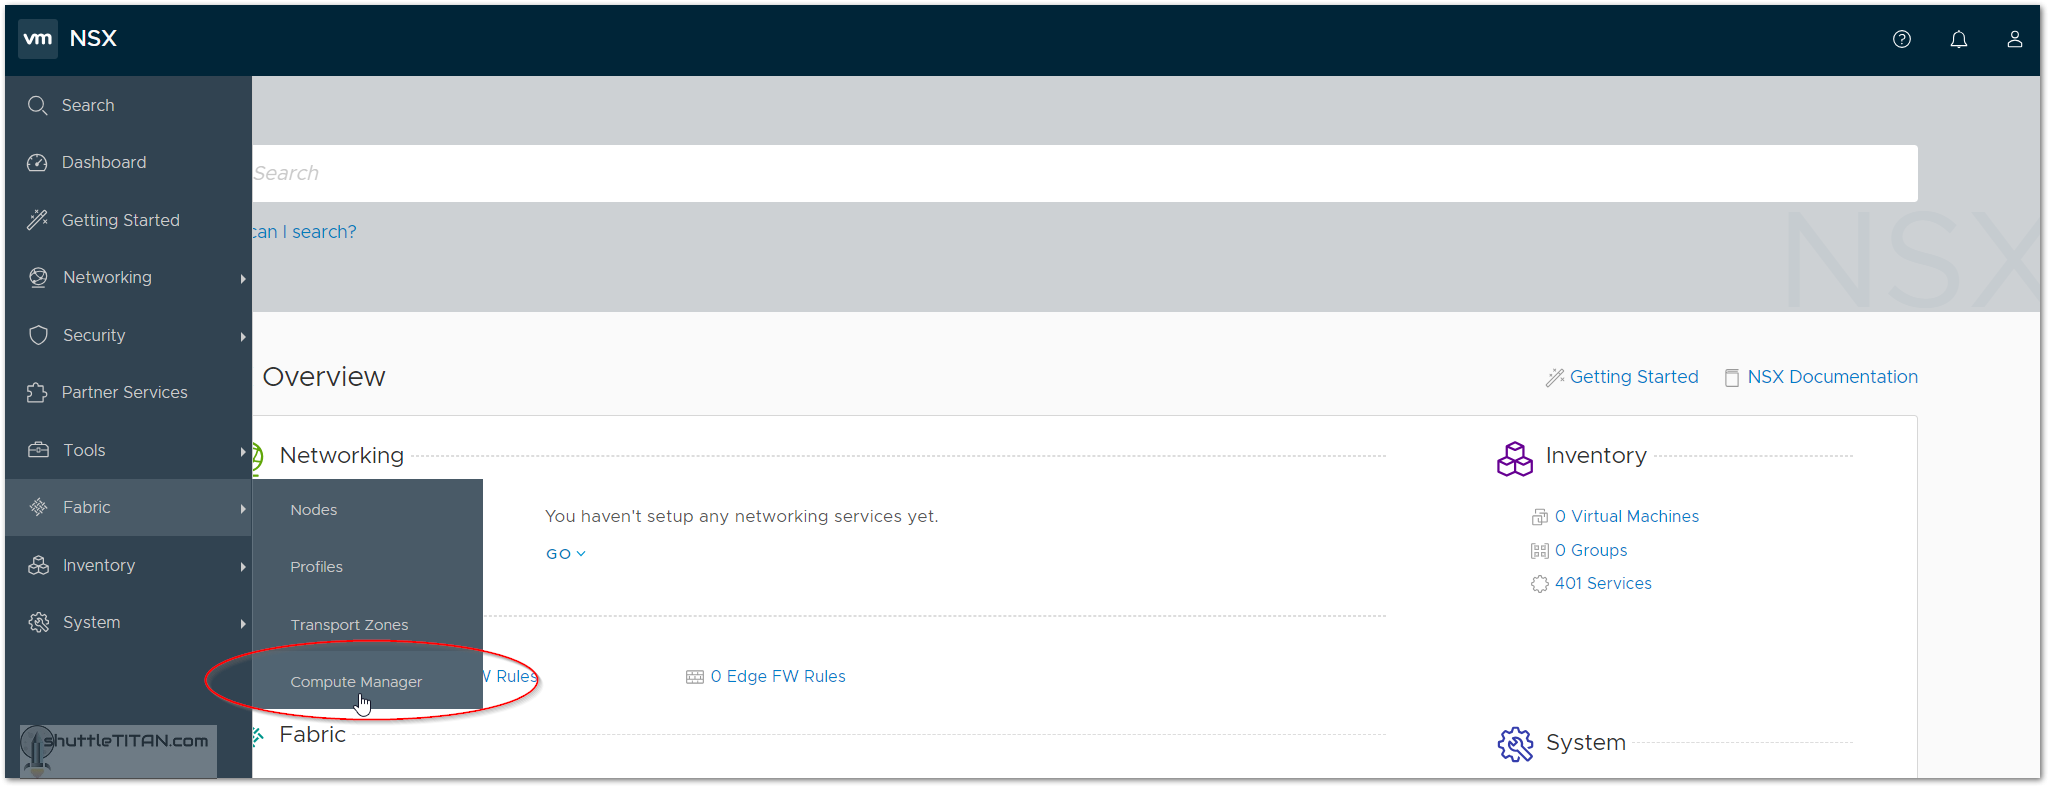
- Hover the mouse pointer on Fabric and click Compute Manager:
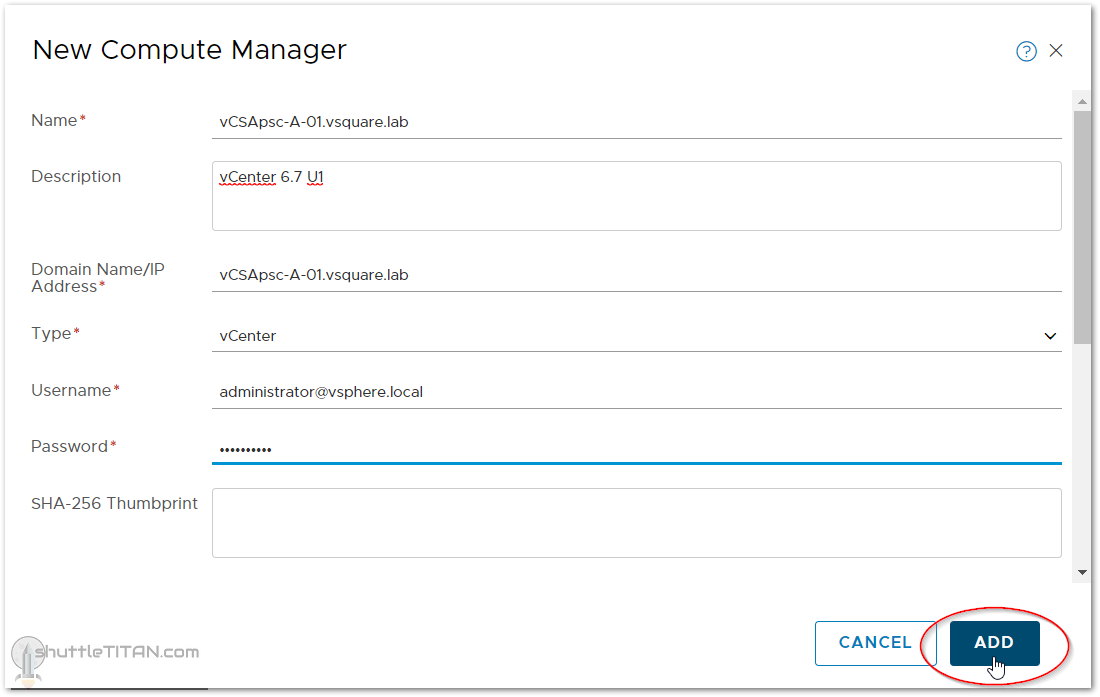
- Click “Add”

- In the new Compute Manager pop window, specify the vCenter Details as below:
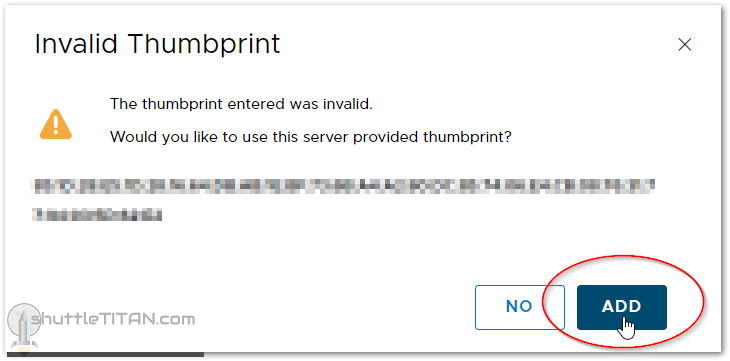
- An “Invalid Thumbprint” window will pop up, click “Add” to proceed.
- After the Compute Manager is added successfully, the connection status will show “UP” as shown in the screenshot below:

That’s it for adding the Compute Manager in this step.
To view the next step click Step 3 – Deploy NSX-T Controllers